

What you need:
- black card
- grey card
- white card
- scissors
- ruler
- small table or flat surface
- glue-tape
PLUS a comfy spot in your backyard!

STEP 1
Wrap the card around your head and mark the finished size.

STEP 2
Using a ruler width, draw lines and cut strips.
TOP TIP: Stop the cut approximately 4cm from the base.

STEP 3
Apply glue-tape (while flat) to the top strips and to the base near the final size mark.

STEP 4
Stick together the overlapped base, then stand up your hat.

STEP 5
Gently fold in the opposite paper strips and press them together.

Continue moving around your hat.

Looking good!

STEP 6
Cut three more strips of paper to make a crest.

Apply glue-tape while flat.

Stick them here.

STEP 7
Cut two small squares of card.

Cut some wing shapes.
TOP TIP: Cut two at once.

Fold along the lines and apply glue-tape.

STEP 8
Stick the small fold inside the hat and the larger fold on the outside.
Then fold down your wings.

STEP 9
Draw some eye shapes.

STEP 10
Take a break and hangout with friends!

STEP 11
Roughly draw and cut-out a curvy beak.
TOP TIP: Cut two at once.

STEP 12
Attach the eyes! The googlier the better!

 Now find a billabong or a bin to hang around!

Why not try different coloured paper and beak shapes to create another feathery friend from Andy’s latest picture book Backyard Birdies!
Follow on instagram @andygeppert.books
-
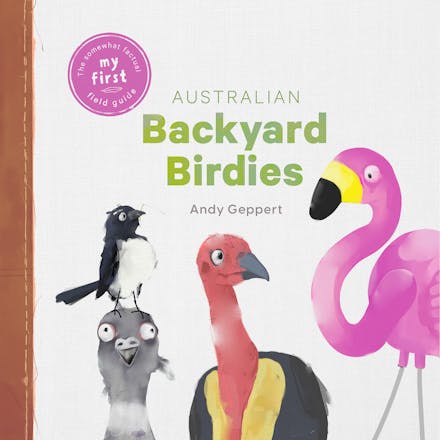
An extraordinarily good looking and somewhat factual illustrated introduction to the birds of Australia from the award-winning author of MEEP.
Latest news

Q&A with Penny Sunday
Meet Aussie dark romance author Penny Sunday!

Read an extract from The Wretched Divine
From the bestselling author of Belladonna
.png?w=440&h=247&fit=crop&auto=compress%2cformat&dpr=2)
Ashleigh Barton's Letter to Readers
Ahead of Eighty-Nine Questions for After, Ashleigh shares her thoughts on why sad books are so important for kids.

Read an extract of True Crime
Start reading Patricia Cornwell's thrilling memoir

The Richell Prize Opens 2026
Announcing this year's round of The Richell Prize
Find a book you'll love, get our newsletter
Hachette Australia acknowledges and pays our respects to the past, present and future Traditional Owners and Custodians of Country throughout Australia and recognises the continuation of cultural, spiritual and educational practices of Aboriginal and Torres Strait Islander peoples. Our head office is located on the lands of the Gadigal people of the Eora Nation.
This site is protected by reCAPTCHA and the Google Privacy Policy and Terms of Service apply.
© Hachette Australia, All Rights Reserved · Site by Chook